The Magic of Aurora Photography
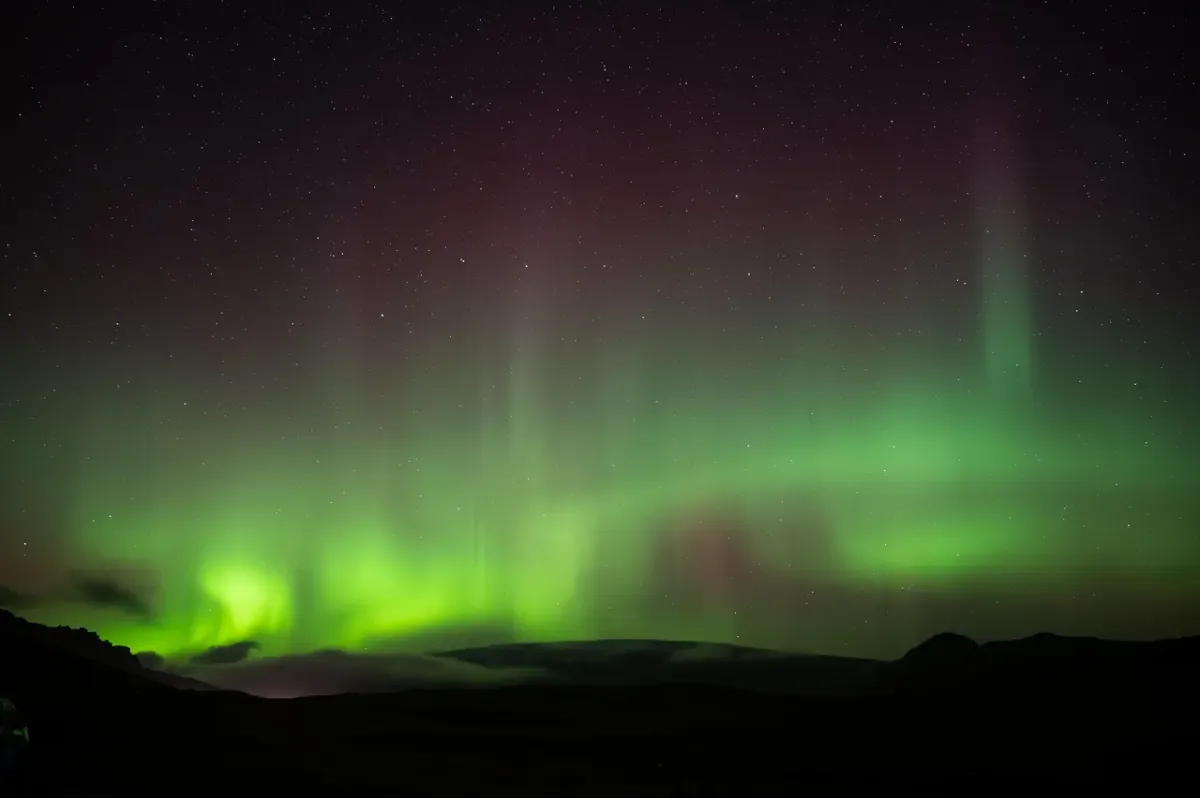
Witnessing the Northern Lights is one of the most awe inspiring experiences on Earth. Watching ribbons of green, purple, and pink light dance across the sky is mesmerizing enough with the naked eye, but capturing the aurora borealis in a photograph lets you preserve that magic and share it with the world. The good news is that with the right gear, settings, and preparation, even beginner photographers can take stunning Northern Lights images.
This guide covers everything you need to know, from camera equipment and optimal settings to the best locations and timing for your aurora photography adventure.
Essential Camera Gear
Camera Body
You need a camera that allows manual control over exposure settings, specifically shutter speed, aperture, and ISO. A DSLR or mirrorless camera with a large sensor performs best in low light conditions. Full frame cameras like the Sony A7 series, Canon R6, or Nikon Z6 excel at aurora photography due to their superior high ISO performance. However, crop sensor cameras (APS-C) like the Canon R10 or Fujifilm X-T5 also produce excellent results.
Modern smartphones with night mode capabilities (iPhone 15 Pro, Samsung Galaxy S24 Ultra, Google Pixel 8 Pro) can capture the Northern Lights, but dedicated cameras will always produce superior results with more detail and less noise.
Lenses
The ideal lens for aurora photography is a fast, wide angle lens. Look for these specifications:
- Focal length: 14mm to 24mm (the wider the better for capturing the full extent of auroral displays)
- Maximum aperture: f/2.8 or wider (f/1.4 or f/1.8 is ideal). Wider apertures let in more light, allowing shorter exposures and cleaner images
- Manual focus: The lens must be able to focus manually, as autofocus struggles in darkness
Popular choices include the Rokinon/Samyang 14mm f/2.8 (an affordable classic at around $300), the Sigma 14mm f/1.8 Art (the gold standard at $1,200), and the Tamron 17-28mm f/2.8 (a versatile option at $900).
Tripod
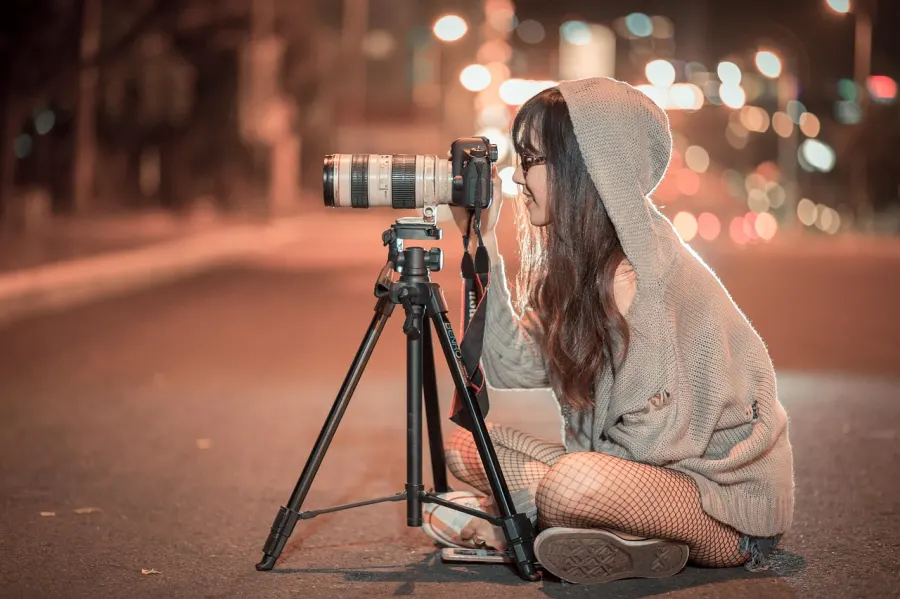
A sturdy tripod is absolutely essential. Long exposures of 5 to 25 seconds mean any camera shake will ruin your image. Choose a tripod that is stable in wind and can handle cold temperatures. Carbon fiber tripods are lighter and do not conduct cold to your hands as readily as aluminum. Budget around $100 to $300 for a reliable tripod.
Other Essential Accessories
- Extra batteries: Cold temperatures drain batteries rapidly. Carry at least 3 to 4 fully charged batteries and keep spares warm in your inner jacket pockets
- Remote shutter release or intervalometer: Prevents camera shake when triggering the shutter. Many cameras also have built in timers or smartphone app control
- Memory cards: Bring more than you think you need. Shoot in RAW format, which produces larger files but much better editing flexibility
- Lens cloth: Cold air can cause condensation on your lens. Wipe regularly
- Red headlamp: Red light preserves your night vision while allowing you to see camera controls
Camera Settings for the Northern Lights
Starting Point Settings
Begin with these settings and adjust based on the brightness and movement of the aurora:
- Shooting mode: Full manual (M)
- Focus: Manual focus set to infinity (or slightly back from the infinity mark). Use live view magnification on a bright star to achieve precise focus
- Aperture: Wide open (f/2.8 or wider)
- Shutter speed: 10 to 25 seconds for slow moving aurora, 5 to 10 seconds for fast moving, active displays
- ISO: 1600 to 6400 depending on aurora brightness and your camera's noise performance
- White balance: 3500K to 4500K for natural looking colors, or set to auto and adjust in post processing
- File format: RAW (always shoot RAW for aurora photography)
- Image stabilization: Turn OFF when using a tripod
Adjusting for Conditions
If the aurora is bright and active, use shorter exposures (5 to 8 seconds) to capture the structure and movement in the lights. Longer exposures will blend the curtains into a formless glow. If the aurora is faint or diffuse, increase your exposure time to 15 to 25 seconds and raise the ISO. The key is to check your images regularly on the camera LCD and adjust accordingly.
Composition Tips
Include Foreground Interest
The most compelling aurora photographs include interesting foreground elements that give scale and context to the sky. Look for silhouetted trees, mountain ridges, cabins, churches, boats on a lake, or snow covered landscapes. Reflections of the aurora in calm water create especially dramatic images.
Framing and Rule of Thirds
Place the horizon in the lower third of the frame to emphasize the sky, or include more foreground if it is particularly interesting. The aurora often arcs across the sky, so use the natural curves and lines of the display to guide the viewer's eye through the image. Leave space for the lights to "breathe" rather than cramming everything into a tight frame.
Shooting Panoramas
When the aurora stretches across the entire sky, consider shooting a multi frame panorama. Take overlapping vertical shots across the scene and stitch them together in software like Adobe Lightroom or PTGui. This technique captures the full grandeur of large auroral displays.
Best Locations for Northern Lights Photography
Norway
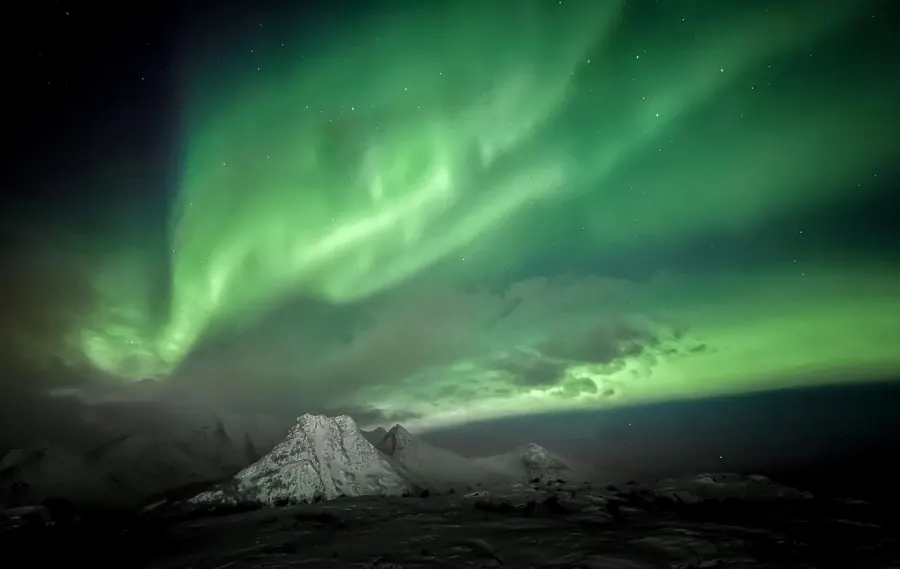
Tromso is one of the most popular and accessible aurora destinations, with a well developed tourism infrastructure and excellent viewing conditions from September through March. The Lofoten Islands offer dramatic mountain and fjord backdrops that create incredible compositions. Northern Norway sits directly under the auroral oval, making it one of the most reliable locations on Earth.
Iceland
Iceland's diverse landscapes provide extraordinary backdrops for aurora photography. Vik's black sand beaches, Kirkjufell mountain on the Snaefellsnes peninsula, and the Jokulsarlon glacier lagoon are iconic aurora photography locations. The season runs from September through April, with October and March offering a good balance of darkness and manageable weather.
Finnish Lapland
Finnish Lapland offers aurora viewing from glass igloos and heated cabins, combining photography with extreme comfort. The flat terrain and frozen lakes provide clean, unobstructed horizons. Saariselka, Inari, and Muonio are popular base camps with clear skies an average of 200 nights per year.
Canada
Yellowknife in the Northwest Territories is one of the best aurora locations in North America, with clear skies and a location directly under the auroral oval. Churchill, Manitoba is another excellent option, especially combined with polar bear viewing in autumn. In the Canadian Rockies, dark sky locations near Moraine Lake and Banff offer mountain backdrops for aurora photography.
Alaska
Fairbanks, Alaska is the most accessible aurora destination in the United States, with viewing opportunities from August through April. Chena Hot Springs, about 60 miles from Fairbanks, offers a unique combination of aurora watching and soaking in natural hot springs under the lights.
Predicting Aurora Activity
Use these tools and apps to maximize your chances of seeing and photographing the Northern Lights:
- KP Index: A scale from 0 to 9 measuring geomagnetic activity. KP 3 or higher usually produces visible aurora at high latitudes. KP 5 or above is considered a geomagnetic storm with impressive displays
- Aurora forecast apps: My Aurora Forecast, Aurora Alerts, and the NOAA Space Weather Prediction Center provide real time data and 3 day forecasts
- Cloud cover forecasts: Clear skies are essential. Use local weather services and apps like Clear Outside for cloud cover predictions
- Moon phase: A new moon or crescent moon provides darker skies and more vivid aurora colors. Avoid shooting during a full moon if possible
Post Processing Aurora Images
RAW files from aurora shoots benefit significantly from post processing. In Adobe Lightroom or similar software:
- Adjust white balance to bring out the green and purple tones (try 3800K to 4200K)
- Increase clarity and dehaze to bring out aurora structure
- Apply noise reduction carefully, preserving detail while smoothing high ISO noise
- Boost vibrance slightly (not saturation) for natural looking color enhancement
- Correct lens distortion and vignetting for cleaner edges
Be careful not to over process. The best aurora photographs look natural and true to what the eye sees, just slightly enhanced.
Staying Warm While Shooting
Aurora photography means standing still outdoors in sub zero temperatures for hours. Layer your clothing with a moisture wicking base layer, insulating mid layer, and windproof outer shell. Chemical hand warmers in your gloves and boots make a huge difference. Bring a thermos of hot drink. Many photographers wear thin liner gloves for operating camera controls underneath heavy insulated mittens.
For organized aurora photography tours with experienced guides, consider booking guided Northern Lights experiences that provide transportation, local knowledge, and optimal viewing locations.
Final Thoughts
Photographing the Northern Lights requires patience, preparation, and a willingness to stand in the cold waiting for nature to put on its show. But when the sky erupts in color and your camera captures that magical moment, the effort becomes instantly worthwhile. Start with the fundamentals outlined in this guide, practice your settings before your trip, and remember that the best aurora photograph is the one that captures how the moment made you feel.
Final Gear Checklist Before You Head Out
Before you leave for your aurora shoot, double check that you have packed extra batteries (cold weather drains them fast), a headlamp with a red light mode to preserve your night vision, and chemical hand warmers. A thermos of hot coffee does wonders for those long, cold waits under the stars. If you are also looking to improve your general travel photography, our travel photography tips guide covers composition and lighting techniques that work beautifully alongside aurora shots. For those considering an Iceland trip to see the lights, check our Iceland Ring Road itinerary for the best viewing locations along the route.

Comments (0)
Leave a Comment